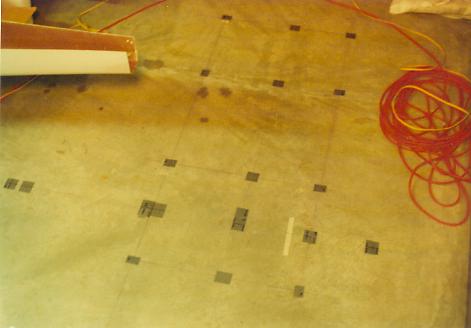
| The tail must be attached at
precisely the correct locations and at the proper angles.
Here chalk lines have been snapped and
measurements made on the floor. They determine the location of the
jigs that will be glued to the floor, which in turn support the tail. |
|
| The jig on the right side has
been put into position. |
|
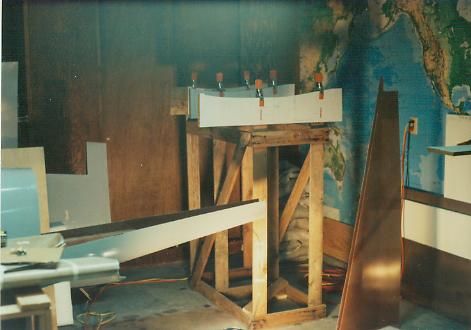
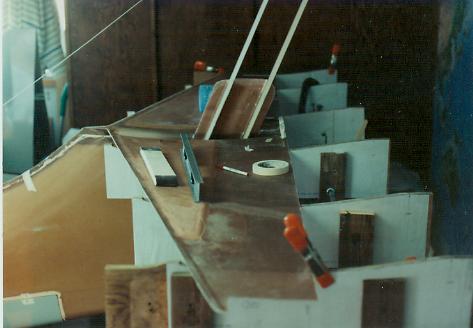
| This is the initial fitting of
the lower right quad piece of the tail.
The tail consists of four
"quads". A lower right, lower left, upper right, and upper
left. Each quad is "L" shaped.
Most of the major pieces of the kit were
primed gray. However, the quads were delivered without prime, so
they appear brownish in color. |
|
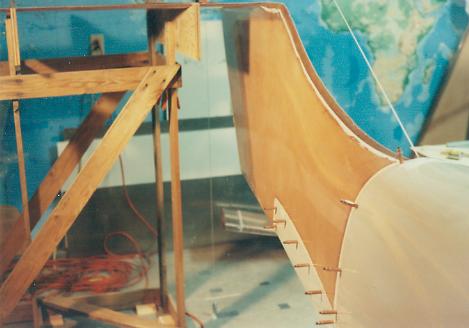
| The lower right quad is now in
position for bonding to the fuselage.
Note the string above the assembly.
It was located directly above the fuselage centerline and the lower right
quad was plumbed into position aligned with this string.
The lower surface of the quad was aligned
with marks on the floor. |

|
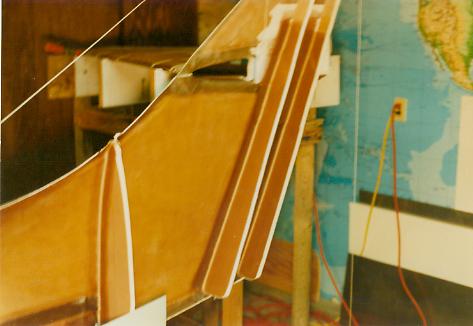
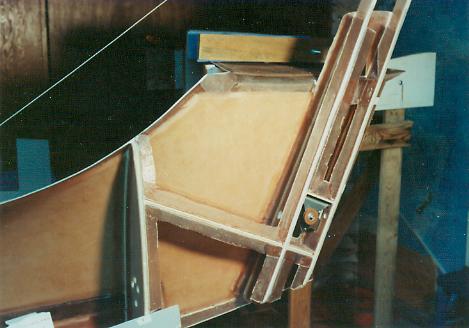
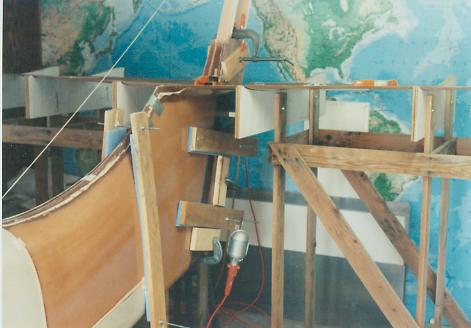
| With the first quad bonded
into position, the shear webs can be installed.
The upper right quad is only in position
temporarily to provide alignment for the shear webs. |
|
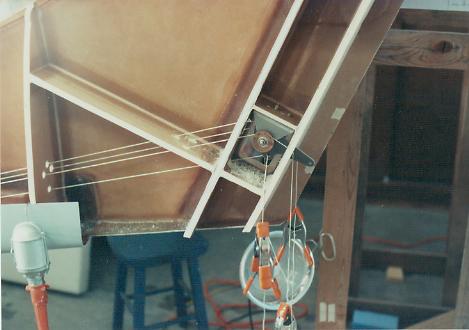
| The control surface pulleys,
brackets, and bell crank are installed next.
Strings are run to simulate the control
cables. Holes are drilled and enlarged to provide clearance and
smooth operation.
The strings run to the rudder pedals and
controls sticks at the forward end of the fuselage. |
|
| Here the lower left quad is
test fitted.
Test fitting is very important because
the quads and very flimsy and need to be well supported in their exact
positions prior to bonding. |
|
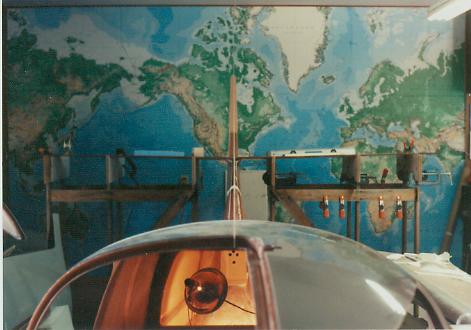
| A view down the centerline of
the fuselage shows the alignment and position of the tail of the airplane. |
|
| Before the lower left quad can
be installed, flanges must be fabricated and installed to provide a
bonding surface. |
|
| The lower left quad has been
bonded and clamped in place by attaching it with screws to the jig as well
as by squeezing it together with homemade clamps with all thread. |
|
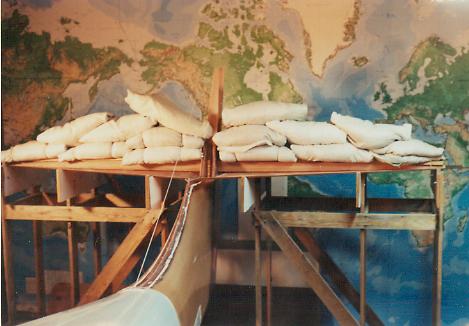
| With the lower quads complete,
a horizontal spar is bonded into position and held fast with sand bags.
A communications antenna has been
installed on the forward face of the vertical shear web. |
|
| Ribs are installed forward of
the spar.
A horizontal shear web is installed aft
of the spar. Alignment of this piece is critical because the
elevator attachment hinges will be installed on the aft face of this shear
web. |

|
|
|

