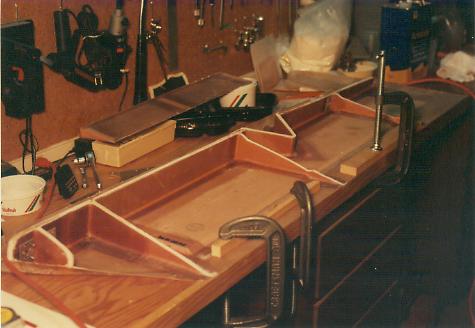
| The rudder being assembled on
the workbench. The shear web and four ribs are installed.
Care is taken to make sure the aft edge
remains straight by clamping it to the bench.
|
|
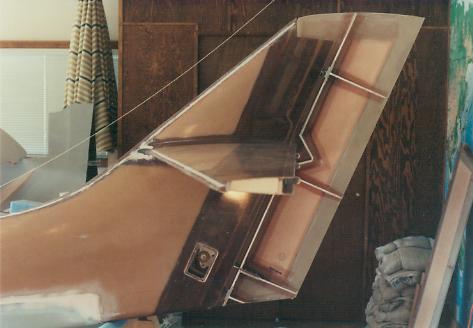
| Fitting the rudder to the
vertical fin.
The hinges have been attached and the
rudder is swung back and both to insure adequate clearances. |
|
| The lower rudder area where it
attaches to the fuselage.
The lower hinge and the cable attachment
brackets are visible. |

|
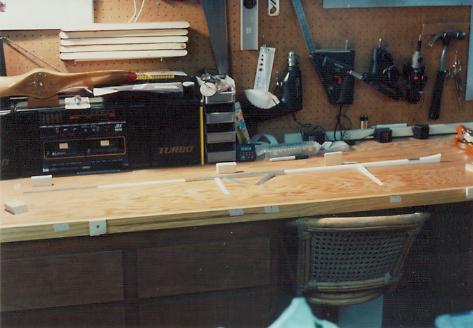
| A rudder closeout jig is
configured on the surface of the workbench.
It is constructed of foam pieces and duct
tape to match the taper of the rudder surface.
The rudder is narrow at the top and it
becomes wider all the way to the bottom surface. |
|
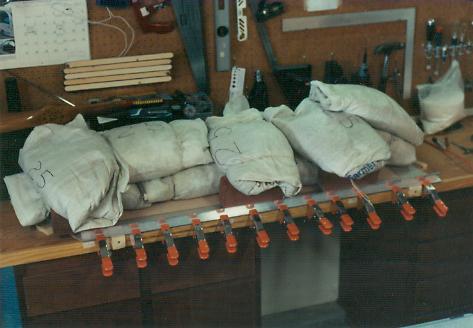
| The rudder is placed over the
jig, the left side skin is bonded in place, and sand bags are placed on
top to insure a secure bond.
Note that a piece of aluminum angle is
clamped over the aft edge of the rudder and against the workbench to
insure a straight edge. |
|
|
|
|
|
|
|

