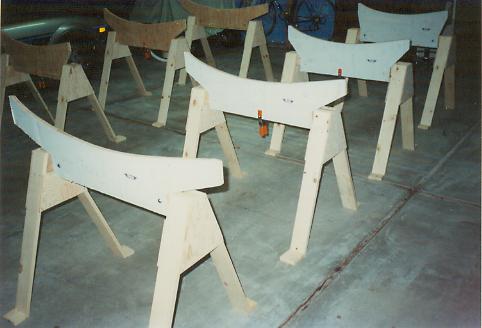
| Four saw horses are
constructed for each wing. A template is attached to plywood, cut
out, and attached to the top of the saw horses.
A chalk line is snapped on the floor
representing the wing spar centerline. The saw horses are aligned
with the chalk line. |
|
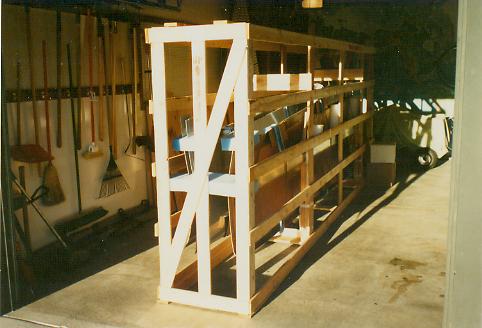
| The wings arrive in a large
crate. |
|
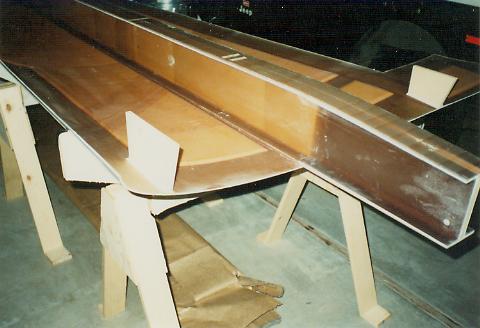
| View of the inboard end of the
left wing.
The color makes it look like wood, but
the wing is actually white fiberglass cloth over foam, saturated with
resin. This is how the structure appears after curing.
The darker the color, the more layers of
fiberglass and resin. |
|
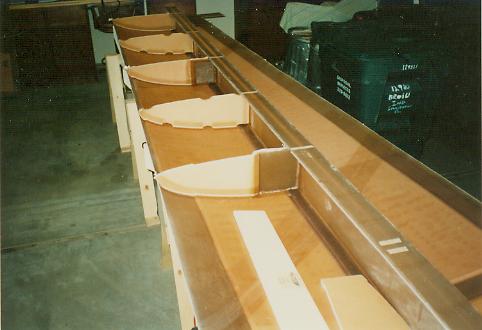
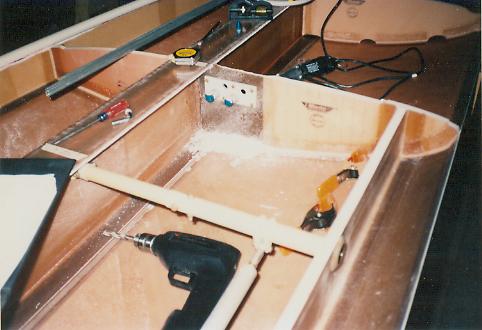
| Preformed ribs are laminated
in place. The area to the left (forward) of the spar forms the fuel
tank. |
|
| The upper wing skin is resting
on the saddles inherted. The fuel pickup plates and aileron control
tubes are installed. |
|
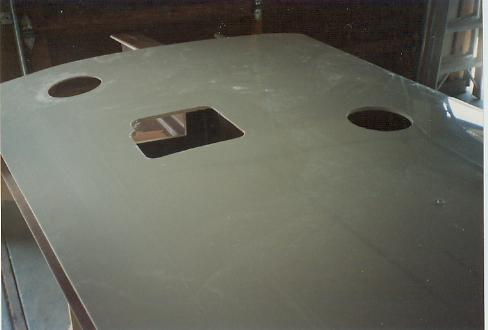
| The bottom skin, primed in
gray, is placed over the top skin (still inverted), and inspection holes
are cut. The gear leg opening is also cut. |
|
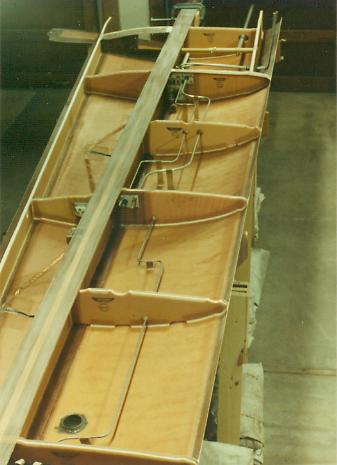
| The internals of the left wing
are completed, and it is ready for closeout. The lower skin will be
bonded to these exposed ribs and spar. |
|
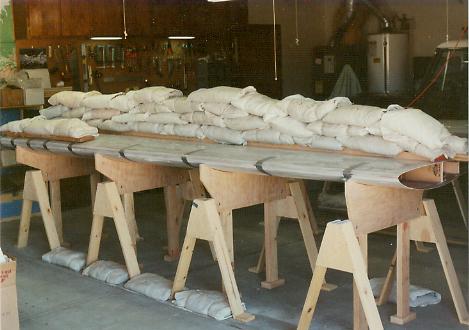
| The right wing skins have been
bonded together. 1,000 pounds of sandbags are placed over the wing
spar, after shear web, and forward shear web to insure a completed bond. |
 |

